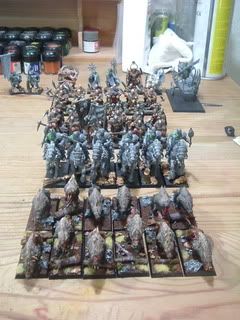
 Hmmm one thing I both like and hate about eight edition is the apparent need for more infantry models. Looking at my marauders I remember how long it took to actually sculpt the cloaks. Thats not going to be fun but it has to be done. At least the amry will look all the cooler for it. I thought I would put up a little guide here so that you can see how I do the cloaks. Its rather simple but takes time. It also takes some practise so be warned if you try to copy these techniques. It won't work the first time.
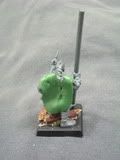
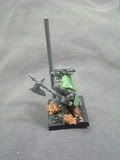 First I create a flat piece of green stuff to make a base for the back of the cloak. It saves a lot of greenstuff this way but it can be a little unforgiving. Basically you need to form a square piece that fits on the back of the model and should be about the desired size you want. It is what you will eventually build the detail unto. I apply this across the shoulders of the models and make sure that it is securely fitted thereA little bit of greenstuff should go over the shoulder but not too much, thats important!
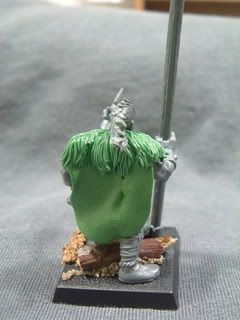
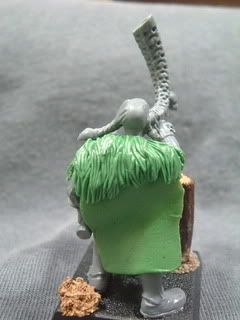 I didn't get great pitures of this stage, sorry! However here is the stage I reinforce the connection of the greenstuff to the body. Once the above is dry usually after 24hrs I take a small amount of greenstuff and form a circle that fits easily over the models head. This goes around the shoulders and to the front. It should not be too thick especially at the front but around the back it doesn't matter too much. I smooth this into the rought shape I want and then sculpt in the fur. The problem being that you definitely don't want this to be too thick at the front so you have to sculpt it now. If it is too thick there then it ruins the detail of the model as the cloak looks out of place. It also saves some time on stage three. As you can see here I have carried the sculpting all around the fresh green stuff. It is important to vary the depth of the sculpting at the back as this helps to later blend in the rest of the cloak.
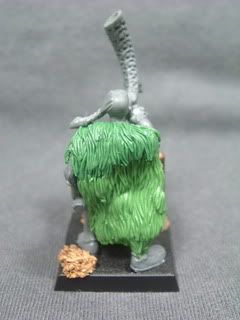
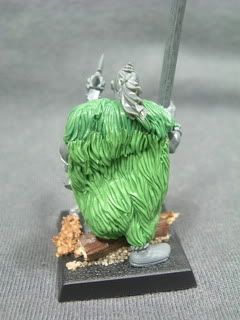 The final stage is easy enough but it takes the most time. As I sculpted these two guys cloaks I realised I was really out of practise as they didn't have a nice clean effect that I have been previously able to achieve. I think I will have to get back into the swing of the sculpting slowly. So for this stage you need a lot of green stuff. The more the merrier! This is because it is easier to create a nice effect by using a lot more green stuff. I apply it evenly over the surface already established. Try not to have it overhang as this causes problems later. Once it is on the surface just creat two or three deep furrows and then begin to sculpt. The furrows help create depth and the illusion of movement. I didn't really do it on these guys as I wasn't concentrating but once I was finished I thought of it. I generally work from the top down. I haven't tried it the other way I probably should. It seems more logical to start at the top. Anyway I just creat the worm shapes that you see on the pictures. It is good to alter the line and weave of them from time to time and to create some higher and deeper patches. Once you get to the end of the cloak it becomes tough as you will get a lot of overhang (hence why you try to avoid it at the start). In some instances it is easily dealt with by sculpting the fur and then lifting it back out from under the cloak. It tends to fold in under the surface you created.
Some other tips would be to use your thumb nail as a support for the original surface if it moves too much for you while sculpting. Just stick it in behind the cloak and sculpt away. Another thing to watch out for is the edge of the cloak. You need to keep that neat and tidy as it can easily ruin the illusion! You need to keep it moving downwards consitently and any major overlaps can be tidied up by having the fur look like it is wrapping around.

No comments:
Post a Comment