 So it seems that I am destined to have to continue my efforts at discovering how to properly weather a 'jack. I took out my crusader this weekend to give it a go. The procedure was the same as last time though I kept the weathering as a more minimal element of the model. I feel that this time I was more succesful but I still haven't managed to get it correct. The first problem I think is the fact that I am only weathering with one type of rust. Their should be a lighter colour included here, something like Vajello Dark Red Ochre or Burnt Sienna. Then I should probably branch into some other advanced techniques. One thing I find very difficult is getting the pigment to stay in place and to be honest even getting it in place! As it is a light powder it blows all over the place. On every tutorial I have seen this is never presented as a problem. However for me it is as annoying as hell. Not only does it not stay in place but it falls onto other parts of the model wher I don't want it to be! I am hoping that there is a trick to this that I will discover somewhere.
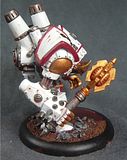
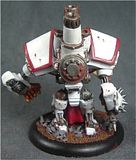
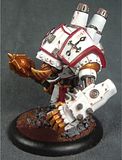 Here are the shots of the completed Crusader. He came out much better than the Vanquisher simply by not having covered him in pigment. The shoulder pads I thought wouldn't see much wear and so I didn't chip them heavily. The armour on the hands and arms of the Jack got some more chips though. These worked out pretty well. I had given the model a much more heavy coat of hairspray than before and this helped with the weathering a lot. I did manage while cleaning my brush to splash a small amount of water over one of the backs of the shoulder blades. This caused the hairspray to bubble under the white. However I left it and eventually after some drying it shrank back into position. I also weathered the engine parts more heavily than before on the Crusader. I think this came out well but could really do with a lighter rust colour on the most heavily weathered areas.
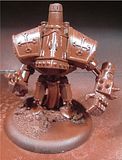
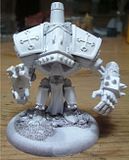
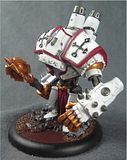 These are the WIP shots. The hairspray as you can see it really shiny. It was dry in this photo. However once you come to chipping it you actually lift it off so there is no shine showing. The final shot shows the chipping having been completed but without weathering pigments added. All that is left for me to do with these two 'jacks is apply varnish to fix the pigment in place, add some highlights to the red on the shoulder pads and then to do the bases.
I am wondering if it is possible to use the varnish I bought from Vajello in an airbrush. It seems from a few disscussion fora that I can. I am pretty reticent about doing this for the moment as when I tested the varnish on an Ork it isn't quite as matte as I would like and even tends to obscure a lot of highlights. This will be the next test for my airbrush!
Part One
Part Two
Part Three

No comments:
Post a Comment