
We have experienced enough games now to embark on a campaign. Days of Wonder have released a wonderful campaign book that detail the Battle of Normandy, Unternehmen Fall Gelb and Operation Barbarossa. So to keep it as simple as possible we started with the Battle of Normandy. This doesn't demand too much in the way of new rules or units so we could jump right in. This is a report on the first section of the campaign called Flanking Caen. No matter what happens here the Germans lose. What they are atempting to do is limit the effectiveness of the Allied advance and inflict as many casualties as possible.
Battle One: Securing the Flank
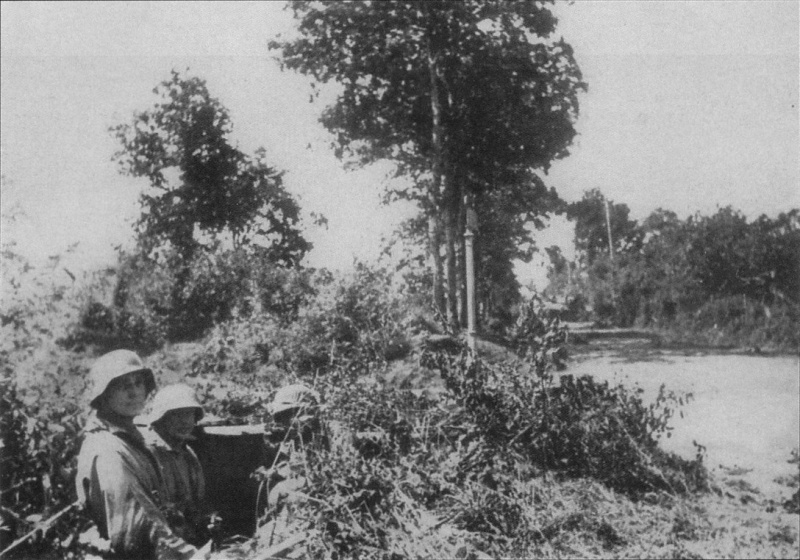 The 49th Infantry Division advanced on Fontenay Le Pesnel on the 25th of June, 1944. Their objective was to take the town and the town of Raury. This would protect 15th Divisions flank as they attempted to outflank Caen. Aarrayed against the 49th Division was the 12th SS Panzer Division and some elements of the Panzer Lehr. The Allies succeded in capturing Fontenay Le Pesnel but despite some hard fghting around Raury the heights and the german artillery there were left intact by the end of the battle.
Battle Two: Capturing the Crossing
 Despite the failure of the 49th Division operation Epsom commenced the next day. The 15th Scottish Division and the 31st Tank Brigade attacked the german positions. The 11th Armoured Division was then called up to strengthen the attack. This broke through the village of Cheux which was heavily fortified by the Germans. The 12th SS Panzer Division were unable to bring their tanks to bear in time enabling the 11th to seize the initiative and push towards the crossing. The Allies spectacularly captured the bridge without too many casualties and dug in for the night across the River Odon.
Battle Three: Withdrawal from Hill 112
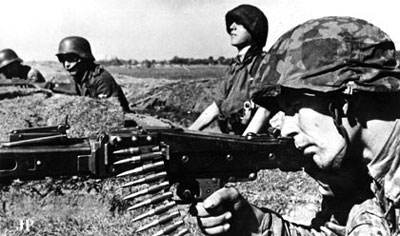 Operation Epsom continued and on the 29th of June the 11th Armoured Division had a tentative hold of the hill on the far side of the Odon river. However the Germans counter attacked along both banks of the river with the 9th and 10th SS Panzer Divisons supported by mechanised elements of the 2nd SS Division. The British called up artillery reinforcements. A hasty attack from the Germans resulted in their armoured units being cut off and wiped out forcing the battle into a stalemate. The British Commander, Lieutenant-General Dempsey was worried however and withdrew across the Odon leaving hill 112 in German hands.
Battle Four: Hill 112
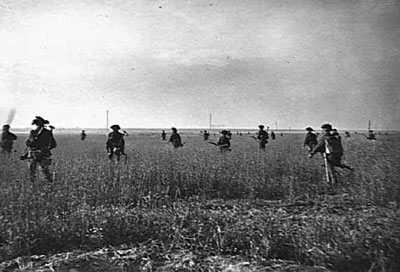 The attack on Caen began on the 7th of June. The 2nd SS Panzer Corps were tasked at this point with holding hill 112, a strategic point the Germans belived was key to victory in Normandy. On July 11th the 43rd Wessex Division attacked the position. The 102nd SS Heavy Panzer Division was dug in in the area near Maltot, a small village. The British advanced into a meat grinder. Initial casualties were incredibly high almost forcing them to withdraw. Action in the fields between the village of Fontaine and hill 112 resulted in massive casualties. An armoured push through this village and its nearby neighbour of Eterville however forced the Germans back into defensive positions around Maltot. The 102nd were then able to capitalise on poor position of the forward armoured elements of the 43rd and the Churchill tanks were destroyed forcing the entire 43rd to withdraw.
Conclusion:
In the end the Axis were trounced and the Allies won a major victory. The last win games were a victory for the Axis but early casualties were devastating. The meatgrinder that was Hill 112 allowed the Axis some breathing space and instead of awarding a decisive victory to the Allies the 102nd made this only a major victory. Now we proceed to the Breakout section of the campaign. With some luck the Axis could have won the battle for Hill 112 and suffered no casualties but a late comeback from the Allies of the 43rd shattered that hope... Victory or at least a draw was almost within my hands!
No comments:
Post a Comment